
How to Burlap a Duck Decoy Like a Pro: Step-by-Step Guide
- Fowl Foolers Team

- Jul 8, 2025
- 2 min read

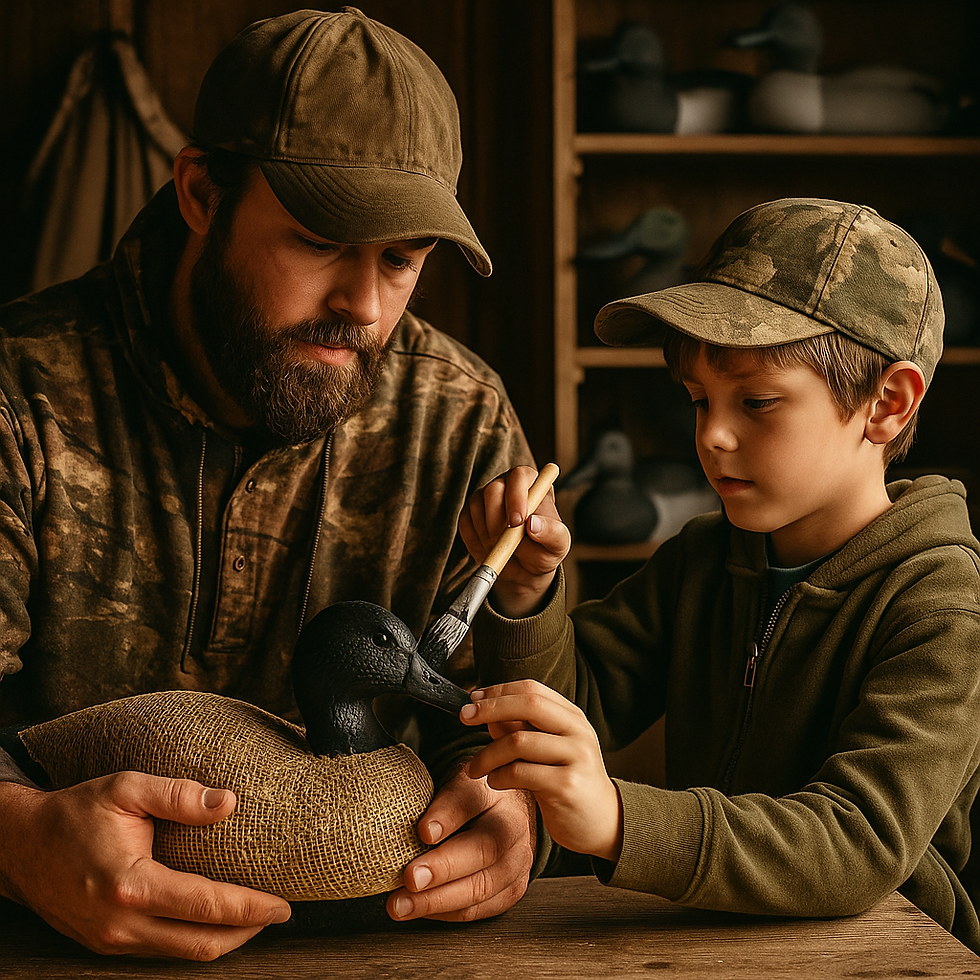
If you’re looking to upgrade your duck decoys for better performance and durability, burlapping is a tried-and-true method that seasoned waterfowl hunters swear by. Burlap not only gives your decoy a more realistic, textured appearance but also adds ruggedness that stands up to harsh weather and repeated hunts. In this guide, we’ll show you how to burlap your Fowl Foolers decoy the right way.
Why Burlap Your Duck Decoy?
Many hunters stick with factory-finished plastic decoys, but over time, they fade, chip, or don’t hold up to constant use. Burlapping your decoys provides:
A natural, non-glare texture that fools wary ducks
Increased durability against scratches, chips, and weather
The ability to customize your decoy’s look with paint for specific species or unique patterns
Tools and Materials You’ll Need:
✅ Fowl Foolers decoy body
✅ Fowl Foolers pre-cut burlap (or burlap sheet)
✅ Fowl Foolers waterproof adhesive
✅ Utility knife or scissors
✅ Parker Paints for finishing
✅ Sandpaper and a clean workspace

Step 1: Prep Your Decoy Surface
Start by cleaning your decoy body thoroughly. Any dirt, oils, or debris can keep the adhesive from sticking properly. If your decoy has a glossy finish, lightly sand it to roughen up the surface. This helps the adhesive grip better.
Step 2: Cut Your Burlap to Size
If you’re using Fowl Foolers pre-cut burlap, you’re already ahead of the game—it’s sized perfectly for our decoys. If cutting yourself, lay the burlap over your decoy and cut, leaving an extra inch or two on all sides to tuck underneath for a clean look.
Step 3: Apply the Adhesive
Using a brush or spreader, apply a thin, even layer of waterproof adhesive to one side of the decoy. Work in sections to prevent the glue from drying before you can lay the burlap down.
Step 4: Wrap and Smooth
Carefully lay the burlap over the glued area, smoothing it out as you go. Avoid air bubbles or wrinkles, as they can damage the finish and create weak spots. Continue applying glue and wrapping until the entire decoy is covered.
Step 5: Trim and Tuck
Use a sharp utility knife to trim off excess burlap neatly. Tuck the edges under the decoy, securing them with additional adhesive. Apply a thin top coat of adhesive to the entire decoy to seal the burlap and add water resistance.
Step 6: Let Dry and Paint
Allow your burlapped decoy to dry completely overnight if possible. Once dry, you can paint it using Parker Paints to match your desired species or blend into your spread perfectly.
Why Choose Fowl Foolers Burlap and Kits?
Our kits are designed with hunters in mind, featuring pre-cut, high-quality burlap, strong adhesive, and decoys that ride better in water. With Fowl Foolers, your decoys won’t just look good—they’ll perform season after season.

Ready to build your own? Shop our burlap kits and decoy components here: Shop Fowl Foolers!
Want to be featured in one of our blogs? We love showcasing our customers and their incredible spreads. Send us your photos, name, and social media handle to info@fowlfoolers.com - your story could be next!


Comments